
Cherry Pie Filling
Introduction
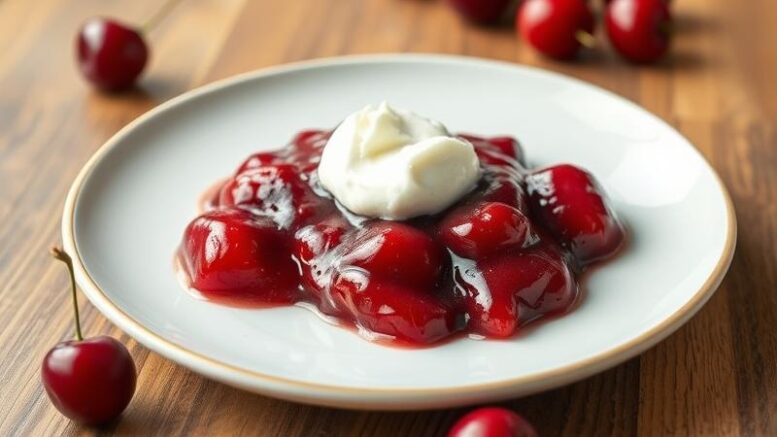
Making your own cherry pie filling from scratch is easier than you think, and the reward is well worth the minimal effort required. With just a few simple ingredients and some basic kitchen tools, you can create a delicious, homemade cherry pie filling that’s perfect for topping ice cream, filling pastries, or making the perfect cherry pie. The best part? You can use fresh or frozen cherries, making this a great recipe to enjoy year-round. In this article, we’ll walk you through the simple process of making cherry pie filling, including tips, tricks, and variations to make it your own.
Why This Works
- The combination of tart cherries, sweet sugar, and tangy lemon juice creates a perfectly balanced flavor profile that’s sure to please.
- The simplicity of the recipe makes it accessible to cooks of all skill levels, and the short ingredient list means you likely have most of what you need already on hand.
- Despite its ease, the end result is impressive and sure to impress friends and family – perfect for potlucks, picnics, or special occasions.
Ingredients
- 2 cups fresh or frozen cherries, pitted
- 1/2 cup granulated sugar
- 2 tablespoons cornstarch
- 2 tablespoons lemon juice
- 1/4 teaspoon salt
- 1/4 teaspoon almond extract (optional)
- 1 tablespoon butter
Instructions
- Step 1: In a large bowl, whisk together the sugar, cornstarch, and salt until well combined.
- Step 2: Add the cherries, lemon juice, and almond extract (if using) to the bowl and stir until the cherries are evenly coated with the dry ingredients.
- Step 3: Transfer the cherry mixture to a medium saucepan and cook over medium heat, stirring constantly, until the mixture comes to a boil.
- Step 4: Reduce the heat to low and simmer, stirring occasionally, until the filling has thickened and the cherries have broken down, about 10-15 minutes.
- Step 5: Remove the saucepan from the heat and stir in the butter until melted and fully incorporated.
Handy Tips
- Use a mixture of sweet and tart cherries for the best flavor.
- Don’t overcook the filling, as it can become too thick and sticky.
- Experiment with different spices, such as cinnamon or nutmeg, to add unique flavor twists.
Heat Control
When cooking the cherry filling, it’s essential to control the heat to prevent scorching or burning. Start with medium heat and adjust as needed to maintain a gentle simmer. Stir the mixture frequently to ensure even cooking and prevent the formation of lumps.
Crunch Factor
The texture of the cherry filling should be smooth and slightly thick, with a few tender chunks of cherry remaining. If you prefer a smoother filling, you can cook it for an additional 5-10 minutes or use an immersion blender to puree it to your desired consistency.
Pro Kitchen Tricks
- Use a pastry blender or fork to mash the cherries and release their natural pectin, helping the filling to thicken more efficiently.
- Don’t overmix the filling, as this can cause it to become too thick and sticky.
- For a more intense flavor, use cherry juice or cherry extract in place of some of the lemon juice.
Storage Tips
- Let the filling cool completely before transferring it to an airtight container and refrigerating or freezing.
- The filling will keep in the fridge for up to 2 weeks and in the freezer for up to 6 months.
- Reheat the filling gently over low heat, whisking constantly, until warmed through.
Gift Packaging Ideas
Consider gifting your homemade cherry pie filling in decorative jars or containers, topped with a ribbon or label. You can also pair it with a package of pie crust or a few fresh cherries for a complete gift.
Flavor Variations
- Try adding a splash of vanilla or almond extract for a unique twist on the classic flavor.
- Use different types of cherries, such as sour cherries or sweet cherries, for varying levels of tartness and sweetness.
- Experiment with spices, such as cinnamon or nutmeg, to add warmth and depth to the filling.
Troubleshooting
- If the filling is too thick, try whisking in a little water or cherry juice to thin it out.
- If the filling is too thin, try cooking it for a few more minutes or whisking in a little cornstarch to thicken it.
- If the filling develops an off flavor or texture, it may be due to overcooking or using low-quality ingredients – try starting again with fresh ingredients and careful attention to cooking time.
FAQs
- Can I freeze it? Yes, the filling can be frozen for up to 6 months – simply thaw and reheat as needed.
- Is it gluten-free? Yes, this recipe is gluten-free, making it a great option for those with dietary restrictions.
- Can I double the recipe? Yes, the recipe can be easily doubled or tripled to make a larger batch of filling – simply adjust the cooking time as needed.
Conclusion
Making your own cherry pie filling from scratch is a simple and rewarding process that’s sure to become a staple in your kitchen. With its perfect balance of sweet and tart flavors, this filling is perfect for topping ice cream, filling pastries, or making the perfect cherry pie. Don’t be afraid to experiment and make it your own – and be sure to share your creations with friends and family!
Be the first to comment on "Cherry Pie Filling Sweet Treat"